First things first, get yourself a proper trails App!There are a lot of apps out there, but I can vouch for two excellent options. Packed with features, easy to use, and FREE. Search by location for all of the trails near you, they include navigation to trail heads, navigation/tracking during your hike, user reviews and ratings, pictures of the trail, difficulty ratings, best uses, restrictions (pets, directional, multi-use, etc), and more. You can save the trails you've done, and keep a list of ones you intend to do. Fantastic apps! Check em out here (the pics are links)
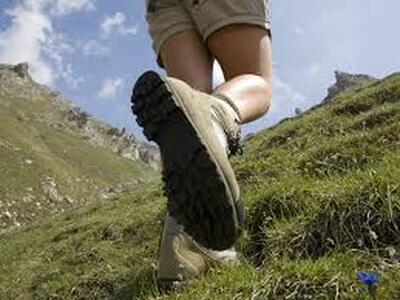
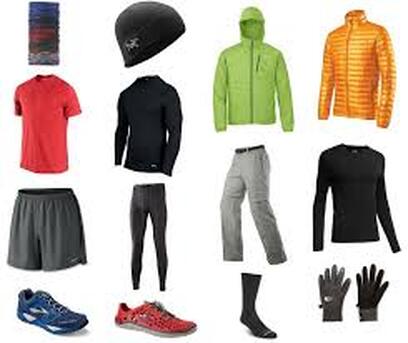
Trails and Covid19We need to be cognizant of using the trails responsibly during a pandemic. I found this useful resource Click Here Keys to success and great times on the trail Footwear could make or break your hiking experience. Your running shoes might be comfortable, and hold up for a few hikes, but are not up to the task out on the trail long term. Your hiking footwear needs to match the conditions, and be comfortable. If you're gonna hike on a regular basis, you will want to have dedicated hiking shoes/boots with thick treads. Here is a great guide to selecting the right hiking footwear. Blisters are the enemy! Look for blister-preventing double-layered socks. They are fantastic! Click Here for a comprehensive guide to preventing blisters 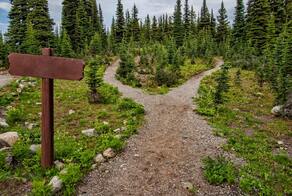
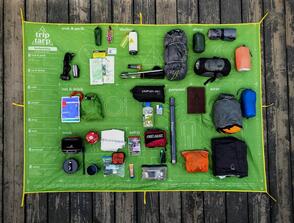 Carry the essentials. Use this guide from the Mountaineers Books to determine which essentials will apply to you and your type of hike. This article doesn't just list what you need, it goes into full detail on each item, and can cater to your specific type of hike. If nothing else, carry a first aid kit, sun protection, extra clothes (socks!), and extra water and food. Pick the lightest and smallest options that will get you through the hike, and then a little bit more. TIP: To carry water, rather than carrying cumbersome bottles or buying a new hydration pack, simply buy a bladder like this one that you can fit inside your existing backpack for a fraction of the cost!  On-trail nourishment: Shoot for foods that are nutrient and calorie-packed for it's size and weight, shelf stable (IE, avoid fresh fruit or produce, meats and cheeses, etc). Aim for dried fruits - much lighter - as part of a healthy trail mix. Peanut-butter and jam sandwiches are fantastic option as well. How much food should I pack? Backpacker.com suggests that for most backpackers who plan on hiking all day with a heavier pack, you should aim for 25-30 calories per pound of body weight, per day. If you’re going to do a shorter day of hiking (less than 2 hours) or covering less strenuous terrain, you can scale it down to 21-25 calories per pound of body weight, to stay properly nourished.
 Refine your technique. Hiking is more than just walking! Even walking the flats with a weighted pack on your back requires you to tense up your core to support the spine, and use your glutes for proper hip extension every step you take. Not doing so will leave you exhausted and sore a LOT sooner. Consider using hiking poles if you are going to be facing elevation changes during your hike (click here for hiking pole tips). Here are some more technique tips for when you encounter uphill and downhill situations. Walking uphill
If you have additional tips, tricks, or hacks not covered here that work for you, please include them in the comments! Happy trails!
0 Comments
We have a lot of BIG picture items in our lives. Family, career, vacations, retirement, (insert your own big picture item here). These big picture items can often cause us to dismiss the small day to day decisions with brush-off statements that cause us to categorize being unimportant and inconsequential. All for the sake of "it tastes good", "it feels good", "it's less work and hassle this way", "it doesn't matter - it won't harm me right now", "everyone else is doing it, what difference can I make by myself?", "it's only $5", "nobody will notice", "I have bigger fish to fry", they go on and on. The fact of the matter is, these small decisions can add up to big picture things, both favorable or unfavorable alike!
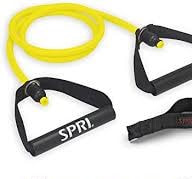
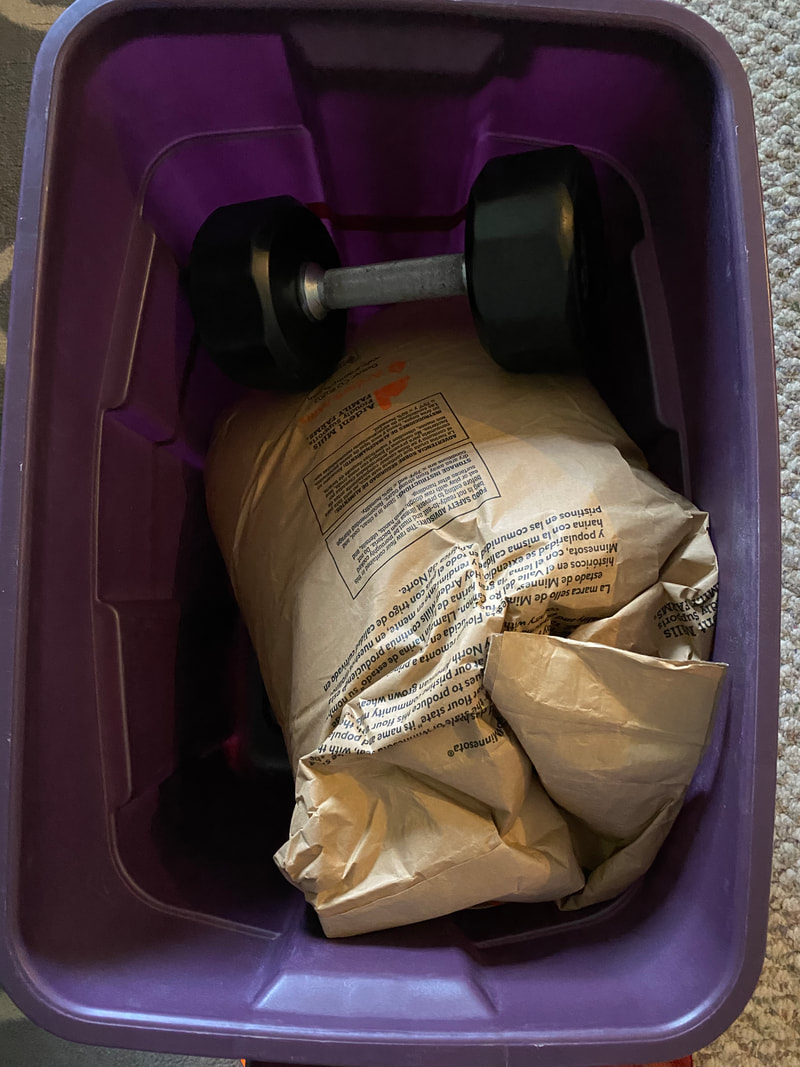
This week is all about PERSPECTIVE. I wanted to take this opportunity to launch a new category/series in the blog called "Sweating the Small Stuff." It is all about recognizing all of the small behaviors and decisions and how they all add up to chronically impact our physical / mental / financial wellbeing, our relationships, and even the environment. You will realize that these small day-to-day decisions are ANYTHING but small and inconsequential when added up over time! I listened to a podcast the other day that puts this very concept into action. It's about getting 1% better every day, and establishing and breaking habits using small actions. It speaks to the power they have over our PERSPECTIVE and future behavior. It is from the Art of Manliness podcast, titled "A proven system for building and breaking habits", with James Clear , author of the book "Atomic Habits". When it comes to reaching our goals and transforming habits, Clear suggests we redirect our thinking away from willpower, and instead onto tactics and environment. If we design and plan these properly, our willpower won't have to be tested. He lays out the 4-step process of habit formation, and offers a detailed solution to reduce "friction" to our desired habits, while creating friction for our undesired habits. But what I like most about Clear's approach is his emphasis on small things. About half way through the podcast, he mentions every small thing we do in support of our goals, is like "casting a vote" - eventually if you build up enough votes, you start to identify with the person you want to be - an exerciser, healthy eater, non-smoker, wise spender, etc. There is so much in this podcast, and is a perfect launch to this series! Follow this link,. Take this small step today by giving it a listen! You will start seeing your big goals and aspirations in a different light. Be sure to check out the supporting resources lower on the podcast homepage Take-Away: For now, I challenge you to think about the compounding effect of your small decisions. Ask yourself "If I did __________ every hour/day/week, how does that look after a year/5 years/ 10 years?" Choose the salad, rinse and recycle the yogurt container, sit up straight, give a cheerful hello, invest your latte money. Do something small today to reverse a negative trend that is putting you on the path to a huge problem down the road. Do it enough times, and you'll feel better about yourself, and your day when you go to bed 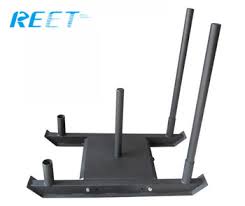 Weight sleds have really gained in popularity - most gyms will be equipped with at least one. They are used in group fitness classes, and are an essential tool for strength and conditioning coaches to develop power and explosiveness in athletes. Problem is, they are expensive! They are cumbersome to store, and require plates. That is why we're gonna tour around the house and find a great way to make our own using things we might already have. Your muscles will not know the difference! Watch the video to give a visual to what I cover below. Here is what you need (or something similar). See the last image for what I used. If you don't have the item, chances are you have something close. Each item is very easy and inexpensive to buy, but try to match up what you have as best as possible. Best of all, each item (except the handles) can continue to be used for it's original purpose, and other at-home fitness solutions I will cover in future posts!
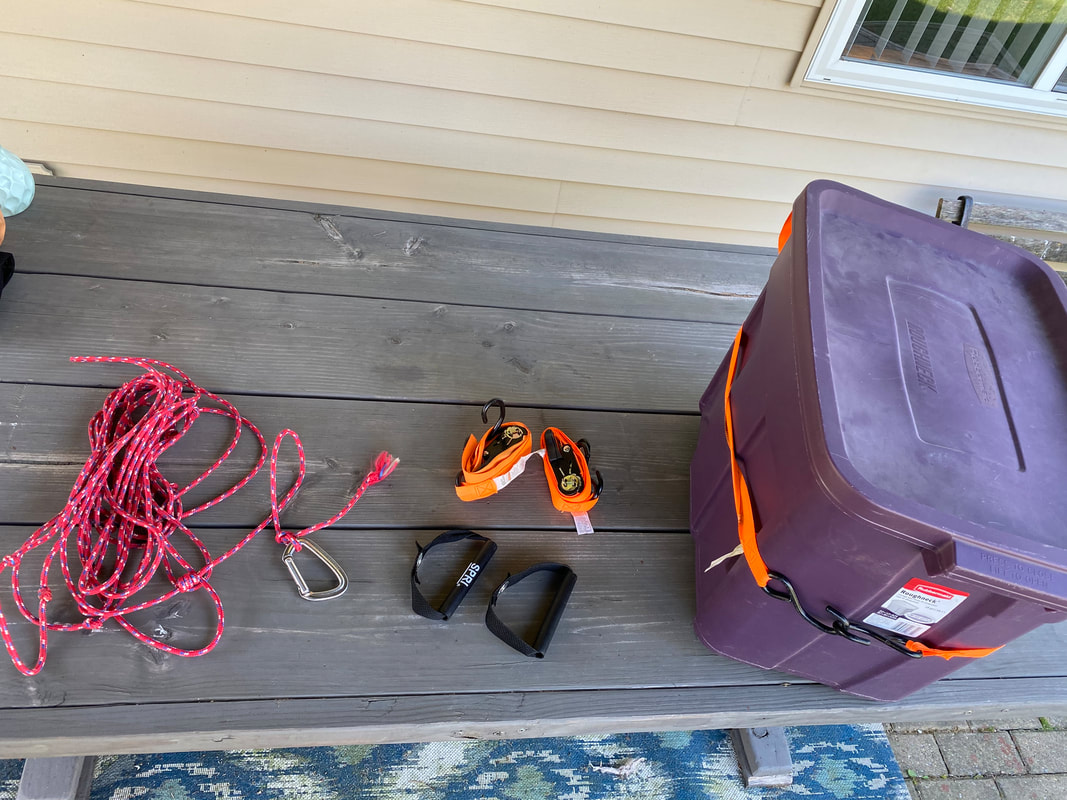 Here is what I had laying around.
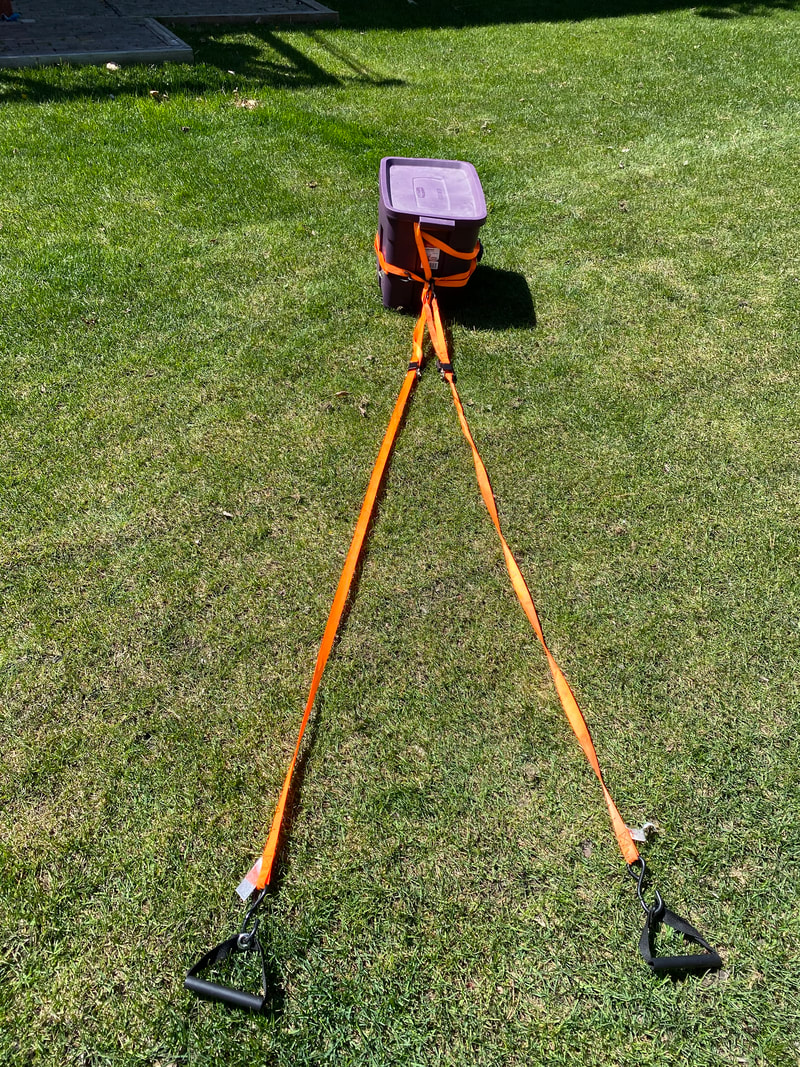
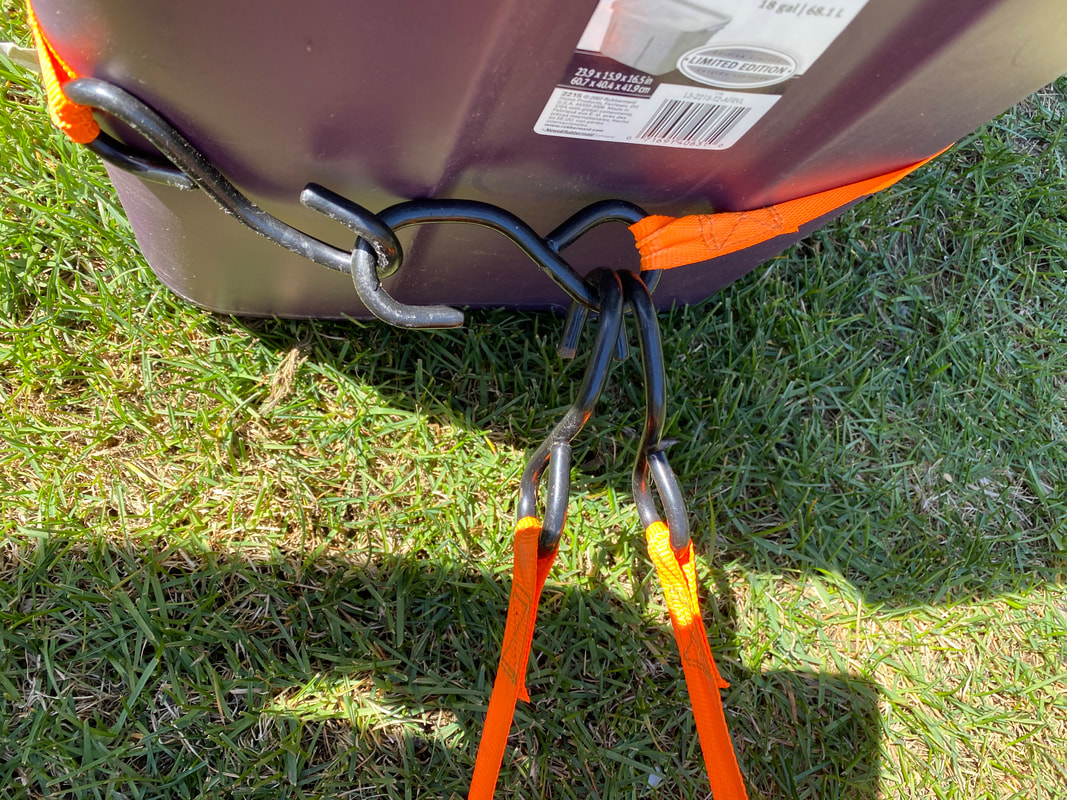
Assembly
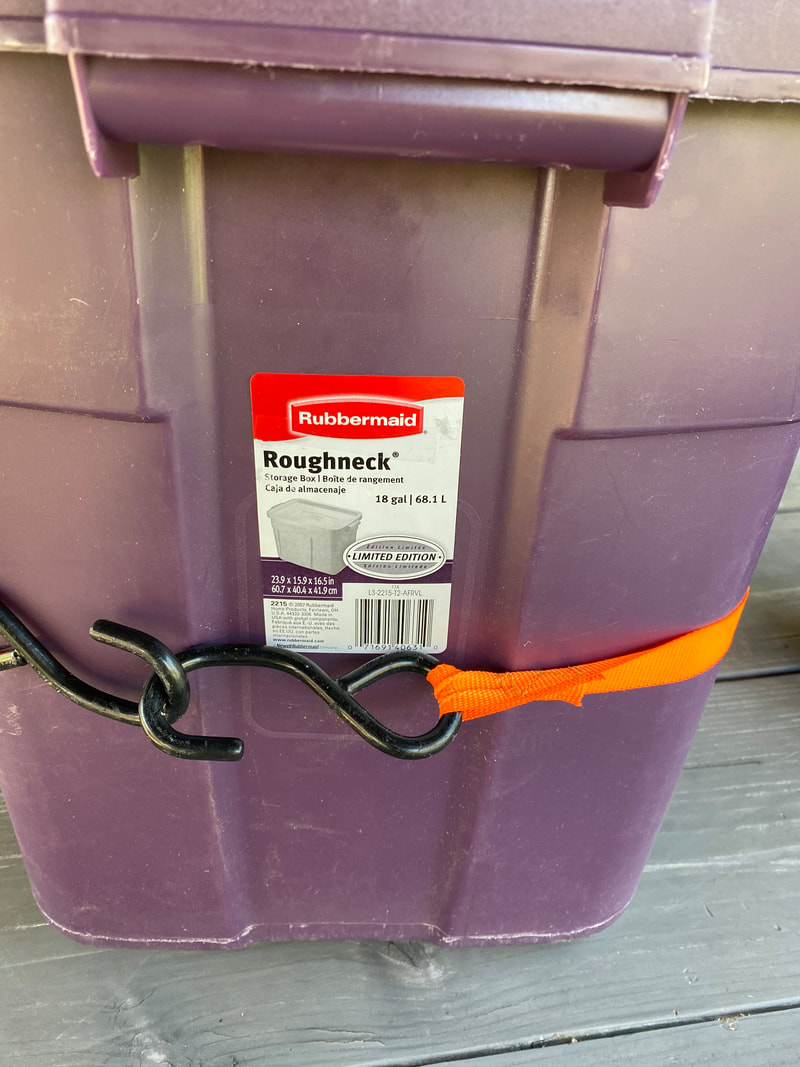 3. For the ROPE:
To create the handles
Until next time...
|
Broad Scope Narrow Focus BlogWelcome to the Broad Scope Narrow Focus Blog! I hope you find a lot of useful and applicable information as we explore the broad world of Wellness together. Check in often, as there will be new posts weekly! Enjoy Archives
September 2021
Categories |

 RSS Feed
Services |
Hours & Contact InformationHours of Operation: The Facility is staffed Tuesday - Thursday 7a-5p
*Facility is accessible 24 hrs / 7 days a week e . [email protected] p . (616) 787 - 7710 |